
DIY Vellum Paper Garland
DIY Vellum Paper Garland | Learn How to Make a Unique Paper Garlands Using Grafix Vellum Paper Sheets | by maritzagarcia.website
This blog post is a collaboration with Grafix Arts who also provided me with all the Grafix Brand materials I used for this project. This blog post also contains hyperlinks to Grafix Arts products and/or links to some of the other products I used to create this project. Note: I don’t get compensated via Grafix nor any other company if you purchase any of the materials listed. I add links to help make finding the project products easier for you to find if you are interested. I only recommend products I trust and use for my projects. You will not be redirected to any other website(s) unless you choose to click on the links provided.
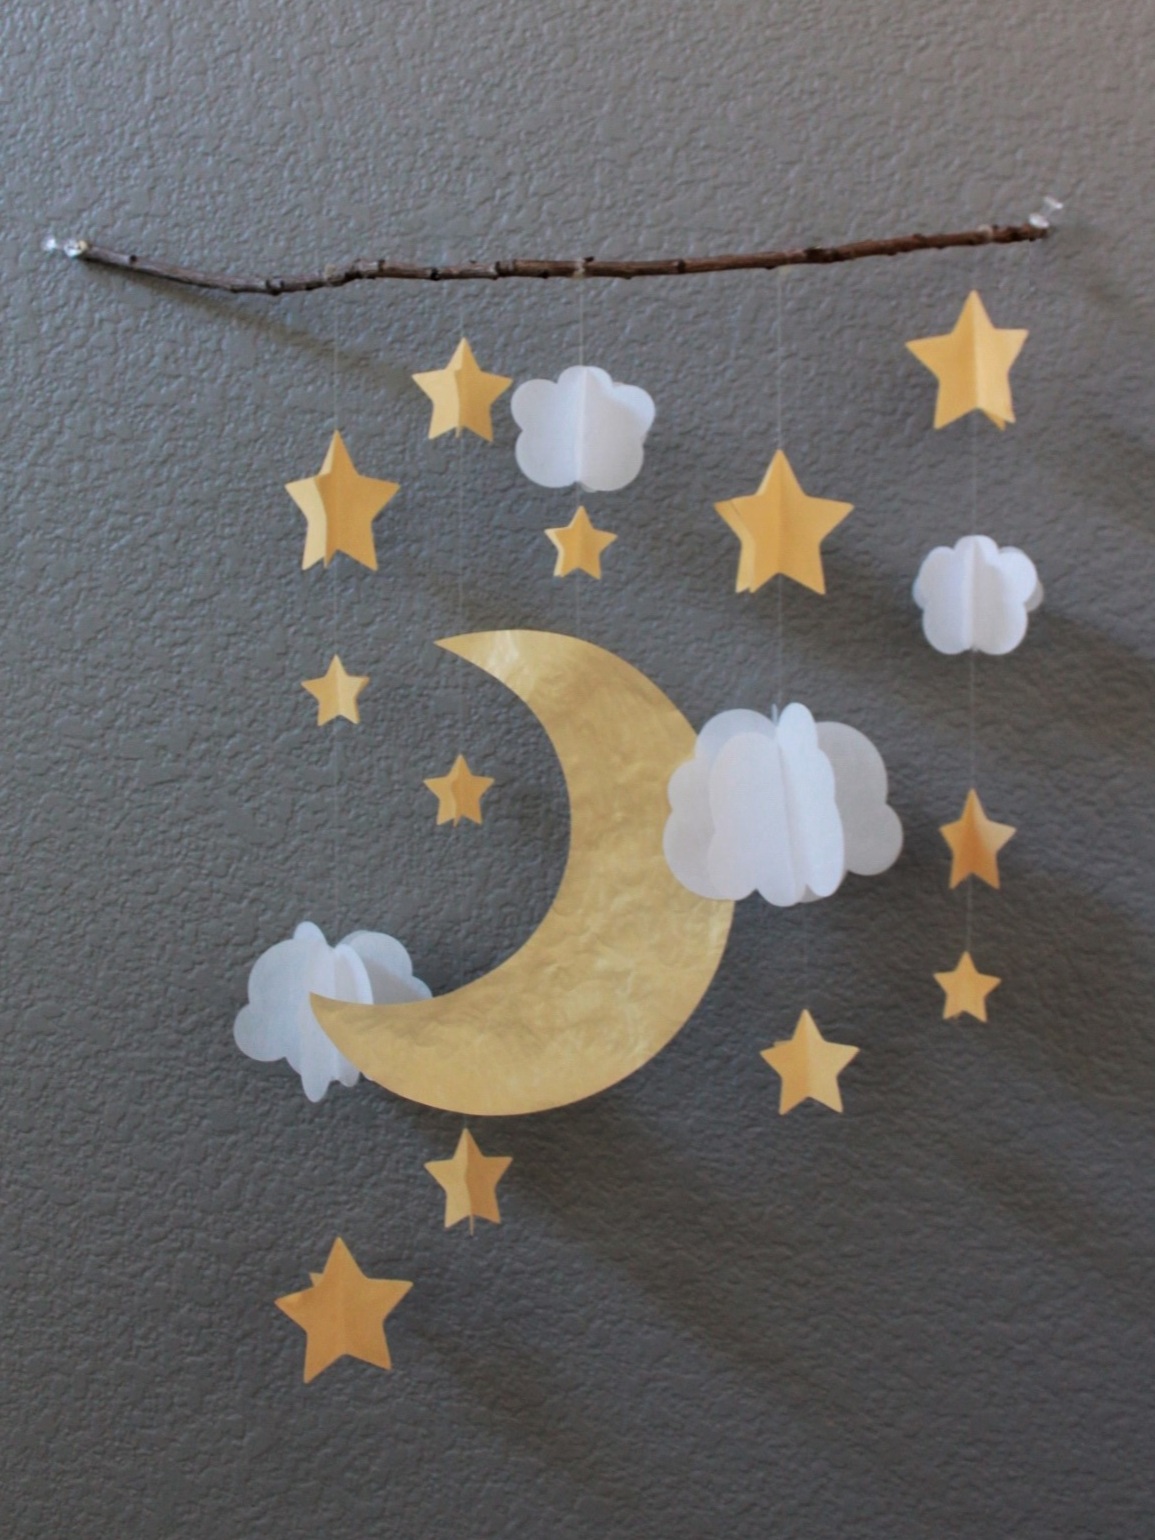
Do you Want to learn how to create a Dreamland Garland using Grafix Vellum Paper? Then You’re in the right place! DIY unique paper creations that actually add a little extra charm to any baby nursery, children’s playroom, or even as baby shower decor. Heck, maybe you’re just as obsessed with the night sky as we are and need one in your home just because?!? Whatever the reason, we’re so happy you made it here. Let’s get started!

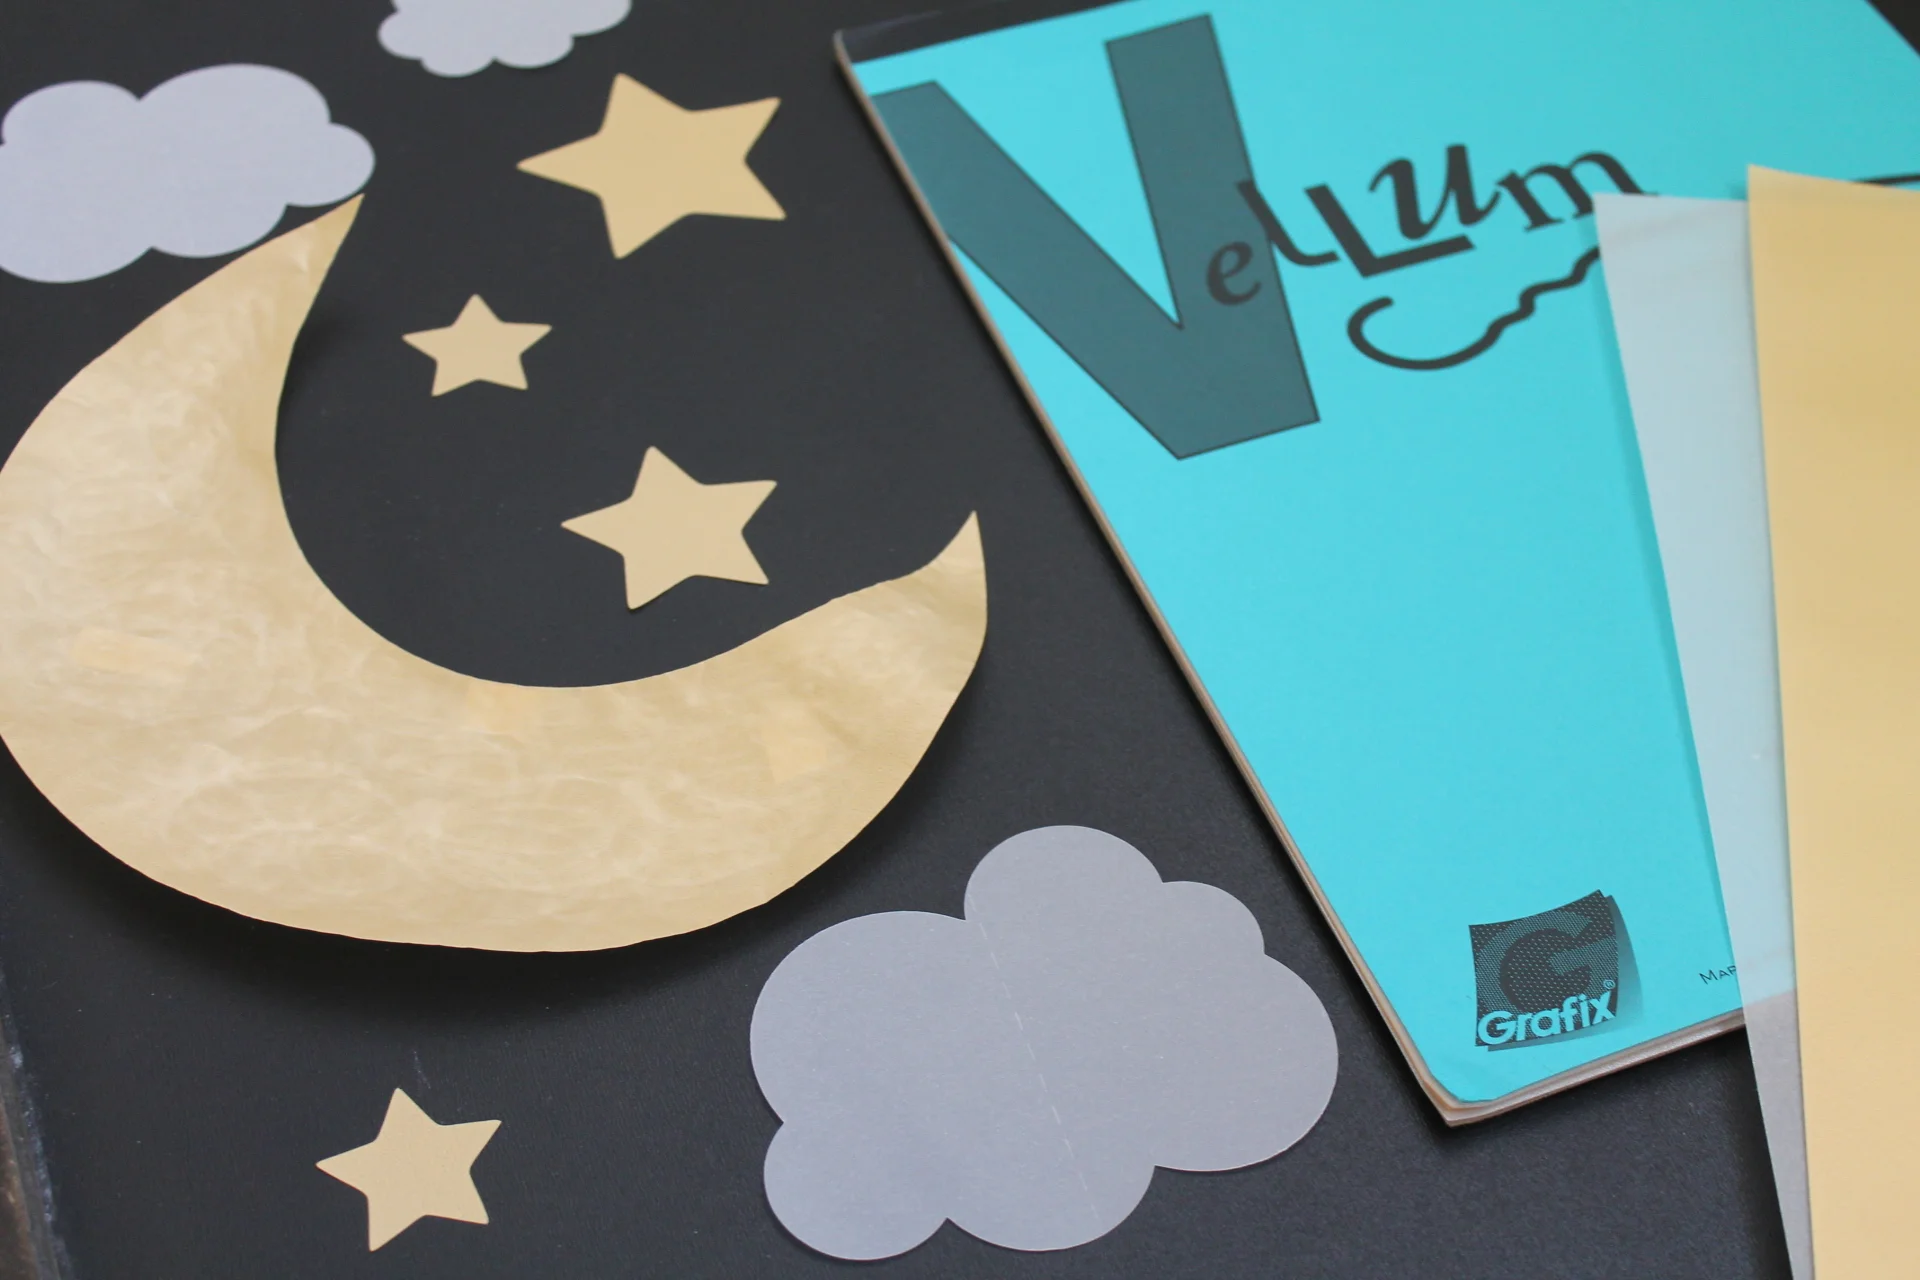
Material's needed to create a 2D Paper Garland using Grafix Vellum Paper:
Grafix Vellum Paper Assortment Package
(package contains 40 sheets in 4 styles - 10 each. Clear, Parchment, Gold, Platinum, 8.5x11).
Templates or a Cutting Machine
Wrinkle Free Glue Stick
Fishing Line (clear)
Free Tree Twig or Craft Wood Dowel Rod
Washi Tape
Optional: Ball Tool + Molding Mat

Instructions:
1. Start by tracing images onto Grafix Vellum Paper or cut images using a cutting machine. You will need 6 cloud shapes to make one 2D cloud, 3 star shapes to create one 2D star, and one crescent moon.
2. Once you have all your images cut out, start working with the larger pieces first and work your way down to the smaller pieces last.
3. Start by placing 6 cloud pieces in front of you. Next, make a fold down the center of every cloud piece.
4. Now take one folded cloud piece and gently apply a light layer of wrinkle-free (glue stick) glue to one side of the folded cloud piece.
5. Next, pick up another folded cloud piece and firmly press onto first cloud piece that has glue, you will need to repeat this step in a carousel pattern leaving the last folded cloud piece glue FREE, set aside for later.
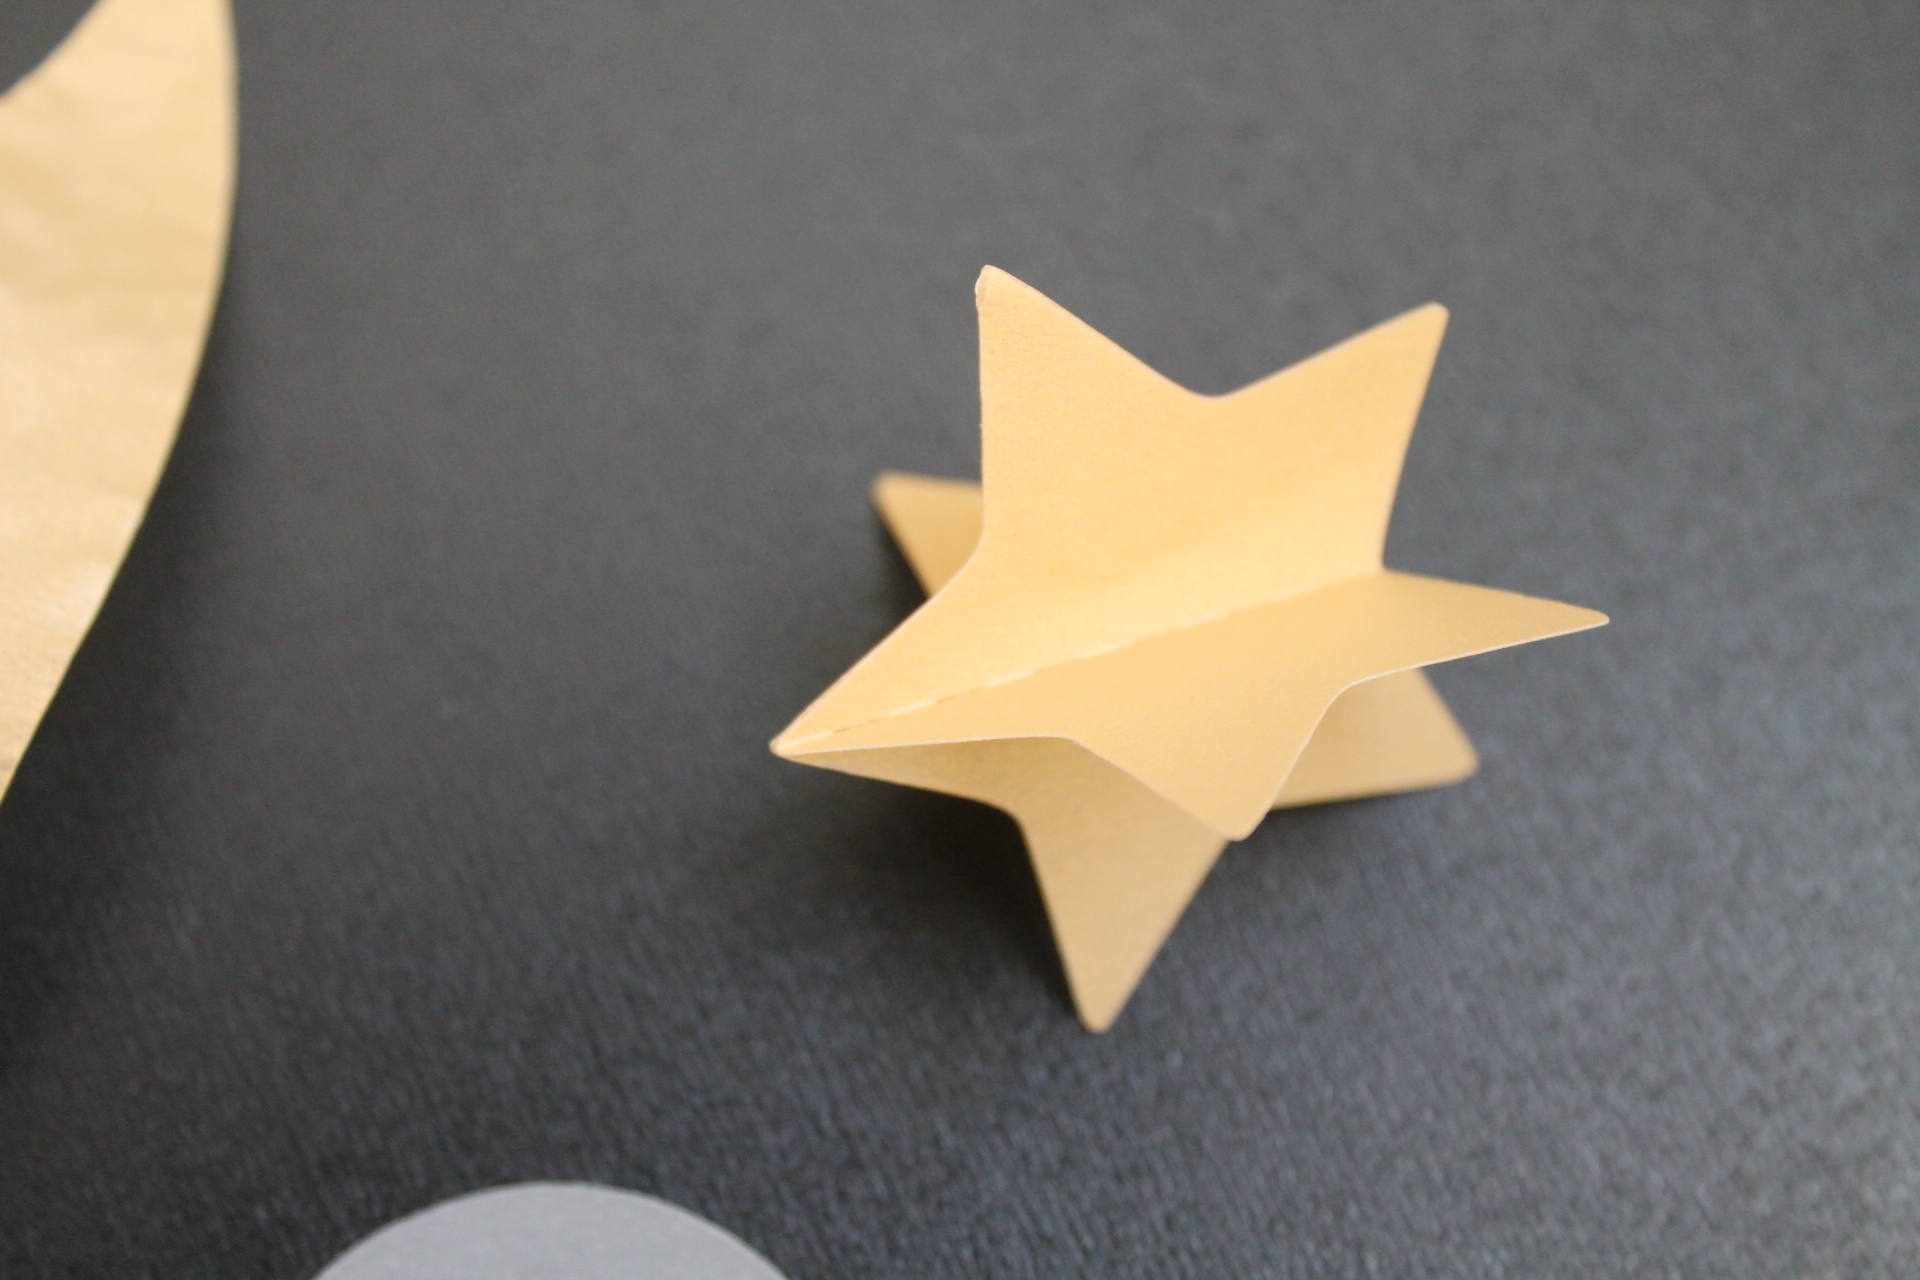
6. Next, set 3 star shapes in front of you, (again) make a fold down the center on each star piece.
7. Take one folded star piece and gently apply a light layer of wrinkle-free (glue stick) glue to one side of the folded star piece.
8. Now pick up another folded star piece and firmly press onto first star piece, continue to repeat this step in a carousel pattern leaving the last folded star piece glue FREE, set aside for later.


NOTE: Moon is 8 in tall x 8 in wide, Stars + Clouds Range in Sizes (small, medium, large).
Stars: Small 1 in tall x 1 in wide. Medium 1.5 in tall x 1.5 in wide. Large 2 in tall x 2 in wide.
Clouds: Small 1.5 in tall x 2 in wide. Medium 5.5 in tall x 3 in wide. Large 3 in tall x 3.5 in wide.

9. Finally, your crescent moon. You may leave it as is, or you may add texture to your vellum paper moon by using a molding mat and a ball tool.
10. I created a hammered look by placing my vellum paper moon onto a molding mat and gently pressing down with a ball tool in a circular motion until reaching the desired texture.
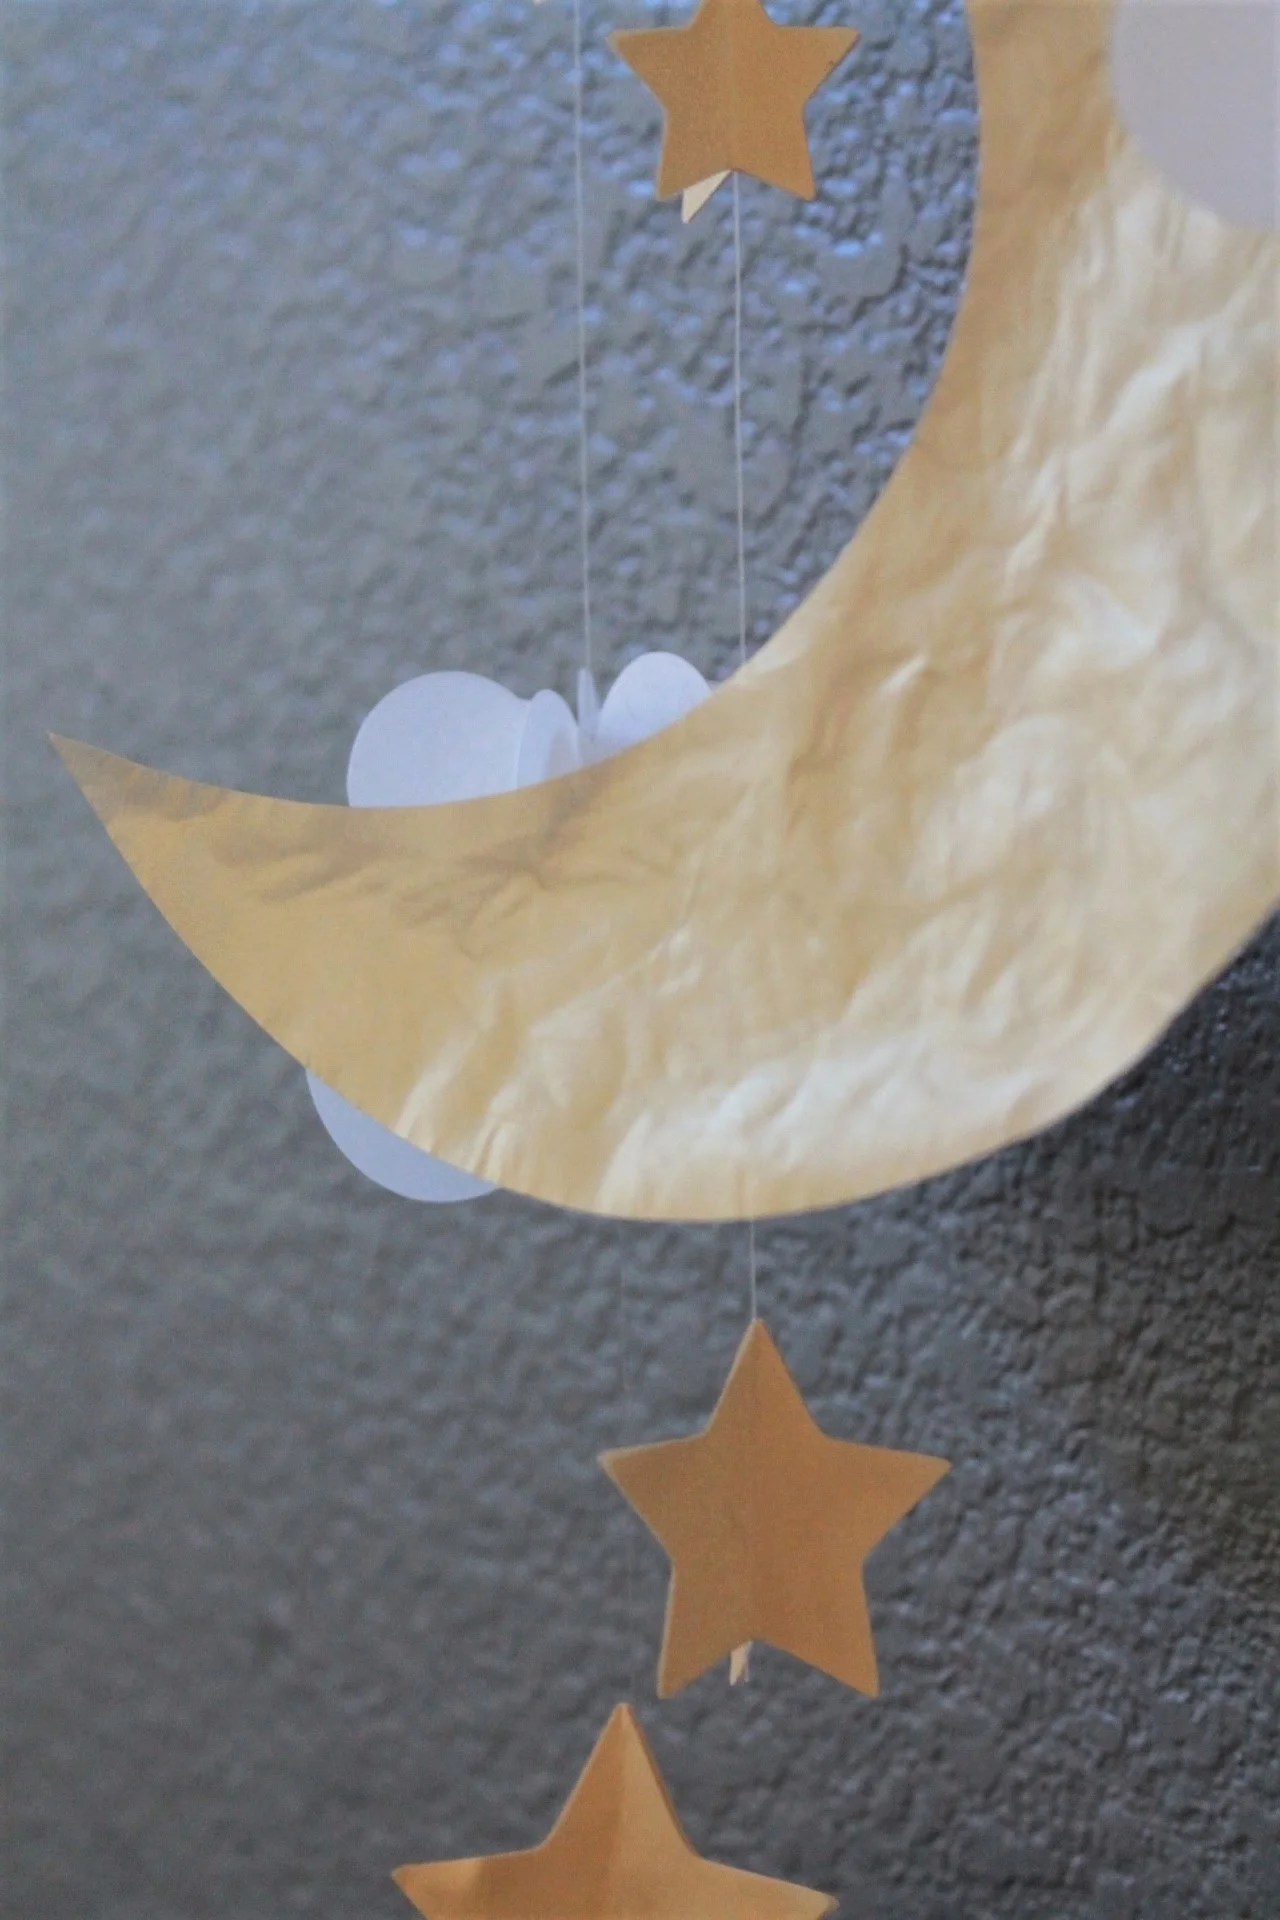
11. Once all pieces are completed. Take a tree twig (from the great outdoors) or any craft wood dowel rod will do. Now it's time to start assembling the vellum paper garland.

12. To begin, knot a few fishing line strands along your preferred garland base, leave a gap of about 1” to 1.5” between your fishing line strings.
13. Next, take your main centerpiece, it could be a star, a cloud or your crescent moon, this part is up to you. Secure all pieces with washi tape. Note: this part is temporary and only necessary as you arrange your pieces to the fishing line strands, it's much easier to restart if placement isn't satisfactory. Once your garland looks right to you, move onto the next step.

14. Glue together all open mobile pieces (clouds + stars) once this step is complete, carefully remove any washi tape that may still be visible.
15. DONE.
Project Time: Up to 2-3 Hours (depending on cutting method).

As always. I hope you give this fun DIY a try. Until next time friend. Happy crafting!
-Maritza.

