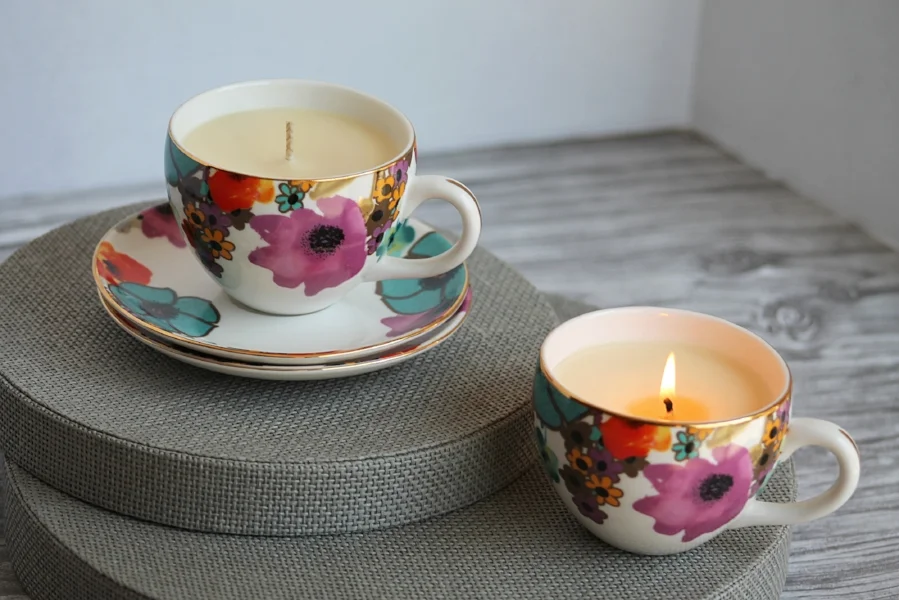
DIY Teacup Candles
Hello and welcome! so glad you dropped in today. I know you may have seen a few DIYs using vintage teacups that are being turned into beautiful homemade gifts, party favors, or placed within wedding centerpieces of some sort.
Like many people out there. I too have a strong belief in zero waste. Always repurposing and reusing as much as possible. Summer time is always a great time for me to spend a little more time getting into my studio to create.
I needed to make a few DIY gifts and thought, this would be a perfect project to make and share. For this project. I took as many shortcuts as humanly possible. And yes, I know it's going to sound a little contradicting -but on the contrary. This project can and shall serve two purposes once these candles burn down. They can either become succulent teacup holders or jewelry holders.
Supplies Needed
1. New or old teacups with or without teacup plates.
2. Scented candle in any inviting fragrance.
3. Wicks with clips.
4. Glue gun, lollipop sticks, or chopsticks.
5. Large pot and heat-resistant gloves or pot holders.
Project Time Varies Between 1 - 2 Hours


Instructions
Step 1.
Glue gun your wick and clip to the bottom of your teacup.
Step 2.
Wrap wick(s) around your lollipop stick(s) and lay flat across your teacup(s)
Step 3.
Place your scented candle into a pot of water, set flame over medium low. Note: I used an 18 oz (510g) candle {which filled 2 1/2 teacups}. Also note, my pot was not deep enough to cover my candle to the wax line, in which case I had to melt my wax in two batches. Notice the paper plate and spoon on photo number seven? Once the wax begins to melt, it separates from the liquid form, making it easy to remove the solid wax form from the jar. Should you find yourself in a similar situation, know you can continue without any problem.
Step 4.
Using heat resistant gloves or pot holders, remove your melted wax jar from your pot of water and carefully pour your liquid wax into your teacup(s), make sure NOT to fill to the rim, leave 1/2" between the wax and rim for a clean finished look.
Step 5.
Let your teacup(s) sit for a few hours, it is important to cover your teacup(s) with a kitchen towel to make sure you don't get any particles in your setting wax.
Step 6.
Snip off the excess wick and you are all done- great job you awesome crafter you!
FIRE PRECAUTION NOTICE
Never leave a burning candle unattended. Keep out of reach of children, pets, and flammable materials. Trim the wick to 1/4" prior to lighting. Burn no longer than 2-3 hours at a time. The teacup will be hot when the candle is lit. Allow cooling before handling or re-lighting the Candle.
Caution: BURN ON HEAT-RESISTANT SURFACE and never leave unattended.
As always I hope you give this DIY a try. Until next time. Happy crafting!
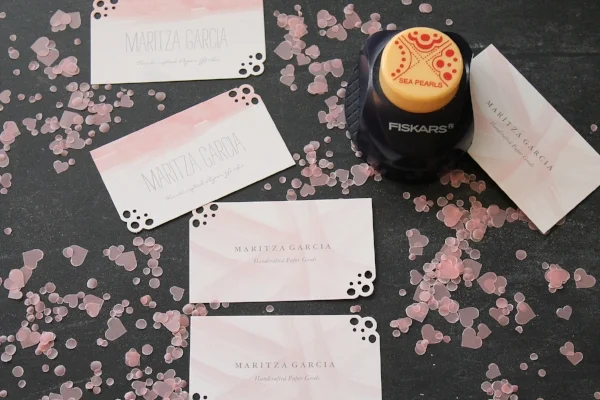
- Maritza